

Backend Jungle: Install and Prep, Python Edition


CONTENT WARNING: WINDOWS
Yes, I am on a Windows machine. I am a cheapskate, and Windows 10 and forward also have a reasonable Linux layer built in (Windows Subsystem Linux), so it's livable these days. Yes, I also know my way about Unix/Linux and other platforms to boot (yeah, even Mac OS X, which, I am sorry, folks, that's a *nix box too). So, the instructions and walkthrough I give here will be on my Windows 10 box (Ryzen CPU).
We're going to start out by selecting a Python to download and install. I am also going to cut a few corners for you here. There's plenty to choose from, you could go with Iron Python, given that we're doing this on a Windows box and Iron Python is tightly integrated with .NET and Windows and Microsoft has jumped on the Python bandwagon including for Azure cloud. However, this track is focused on BACKEND Python, and one of the lessons of backend coding is: maintain your options. You might be on Azure today, switch to Google cloud tomorrow, Amazon AWS after that, and your own servers next month. So we will be going with generic Python Software Foundation Python for now.
So, we should just get the latest version, right? Nahhh, let's hold the phone on that... why? Well, compatibility with different Python packages we will or might be using starts becoming important too, and maintaining and eliminating package dependency collisions. From my own personal experience (and disasters), right now Python 3.7 is the best choice. So, we're going to download Python 3.7.9 for Windows 64 bit here . The main page for Python 3.7.9 installers is here. After the download is complete, launch it and run it to completion, which should look something like this.
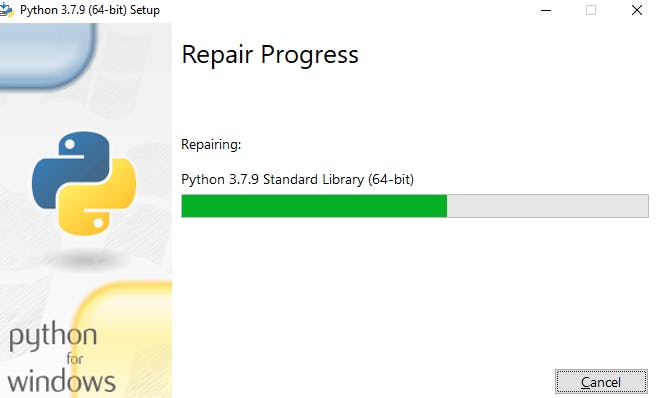
Yeah, I did a repair on my already existing installation so you could see it, but a new install is virtually the same. Now that that's done, how can we be sure it's working and what we need? Well, we bring up a Windows shell and run "python --version".
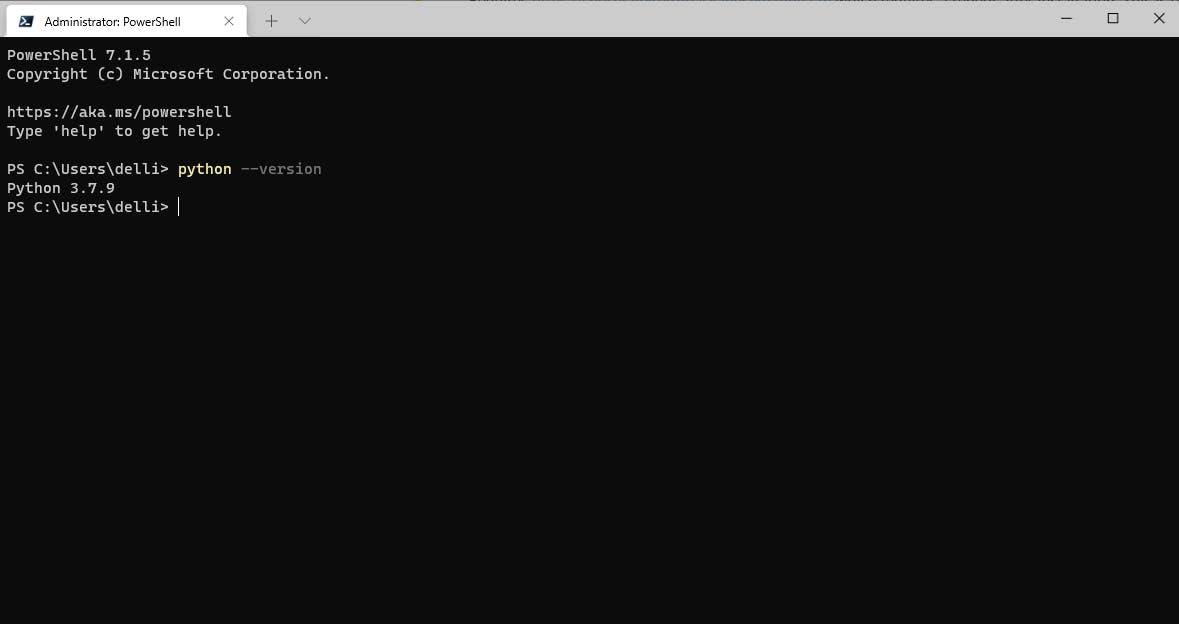
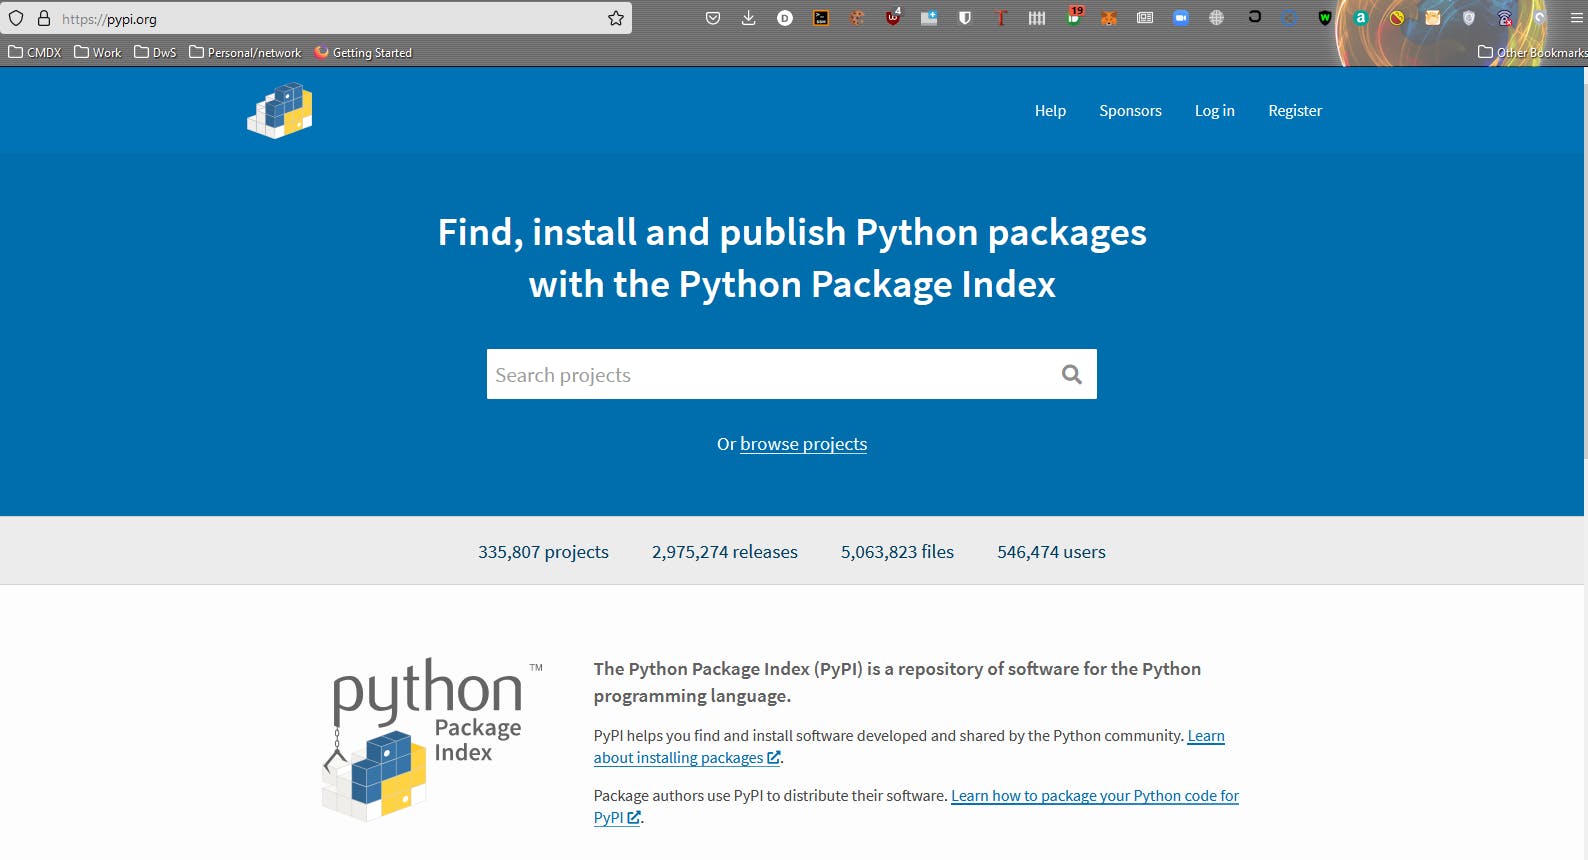
And VOILA! Python and even the correct version are runnable and available. The next steps for our Python environment are getting ready to set up our virtualized environment and install packages as needed. Python allows setting up virtual environments (that turn out to be just subdirectories) to help segregate packages that are used within environments and keep you from polluting the main Python install's environment. It also has a package manager analogous to npm in the Node.js world, called PyPi that even has its own website where you can look up packages by name or functionality.
So far, so good. Next, we're going to create a subdirectory where we'll put out code and virtual Python environment, and start by creating the virtual environment BEFORE we install any PyPi packages. The view from the command line:
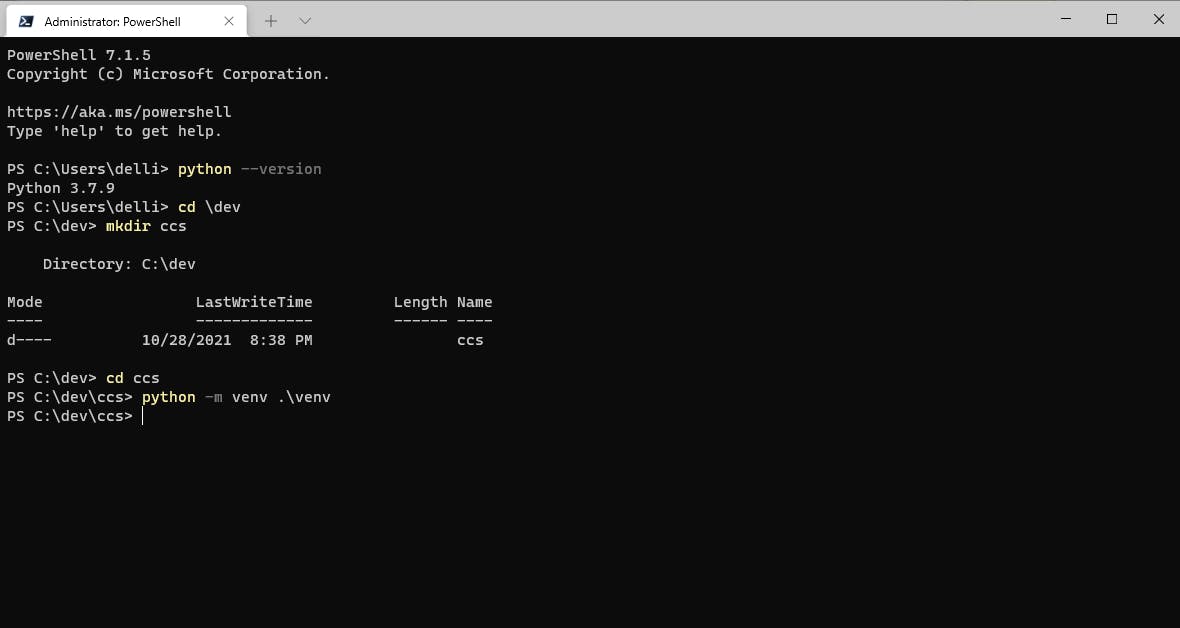
Incredibly simple and painless. In short: I already had a directory called "dev", and under there I created a directory called "ccs" (for Crescent City Shelter, our project). After that and cd'ing into the ccs directory, I ran "python -m venv .\venv". That told python to run venv and create a venv subdirectory and create a virtual environment in that new subdirectory. Now, how do we check all went well and the new virtual environment works and runs? Well, we run a special venv command (a shellscript actually) called activate.
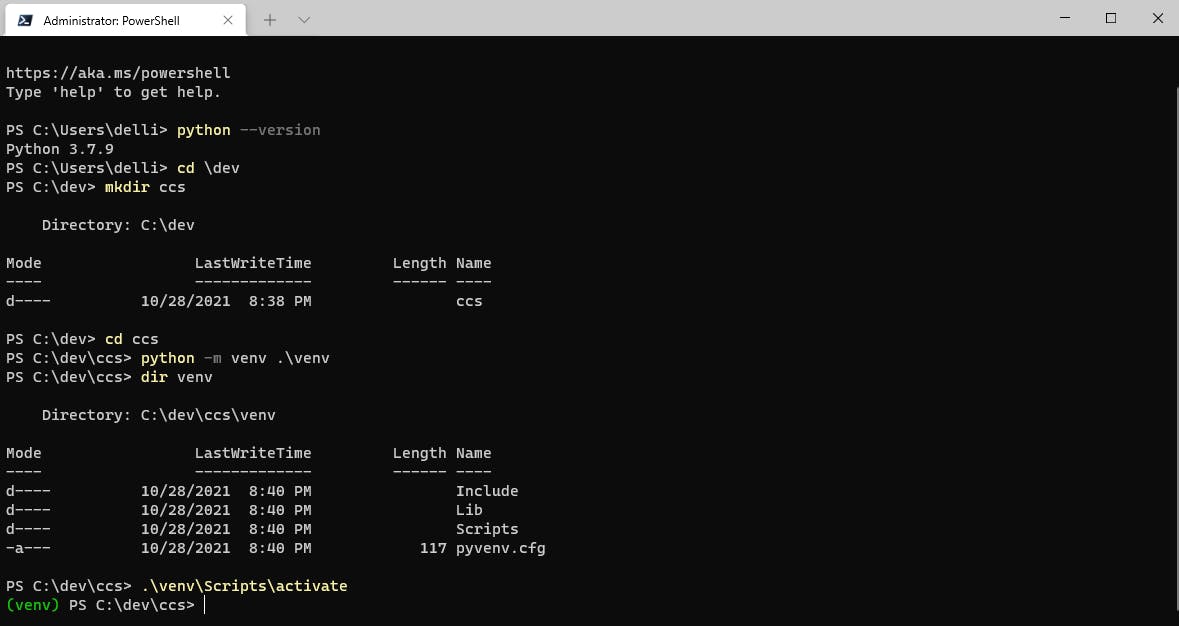
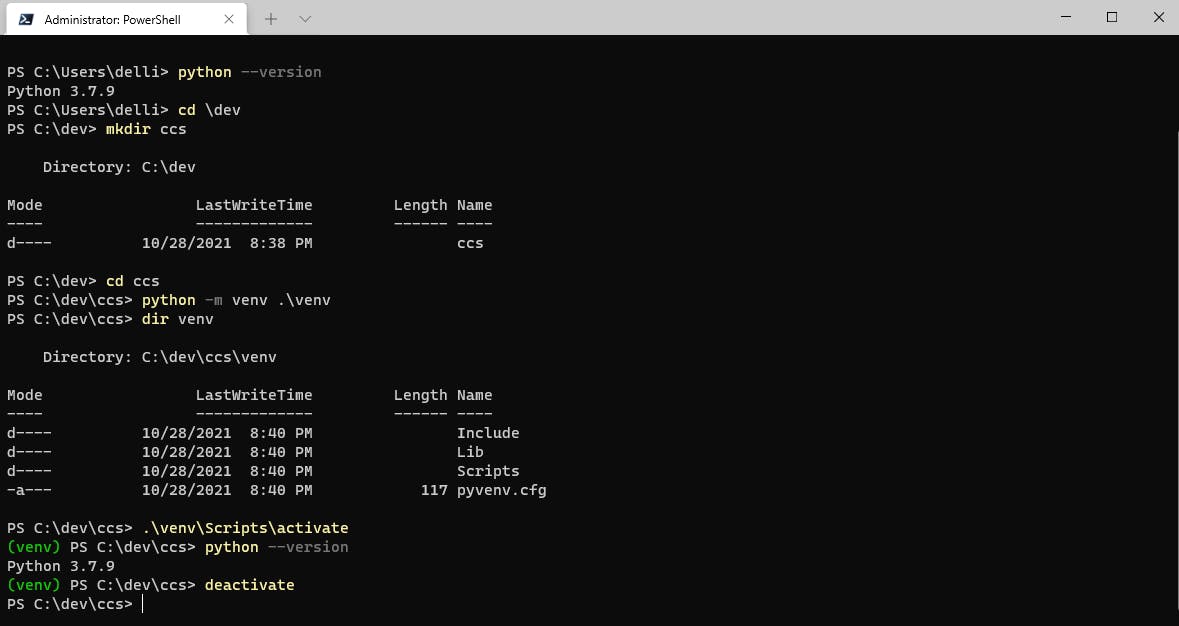
And as you can see, it brings up a virtualized shell that is linked to the Python in the venv subdirectory. And to get back out of that shell, you simply run deactivate.
Doing great so far. Now we need to start warming up to installing the various Python packages we'll need into our virtual environment. First off, the Python installer is called pip, and we will need to make sure it is up to date before we install anything else. So, we'll reactivate the venv and check for pip updates.
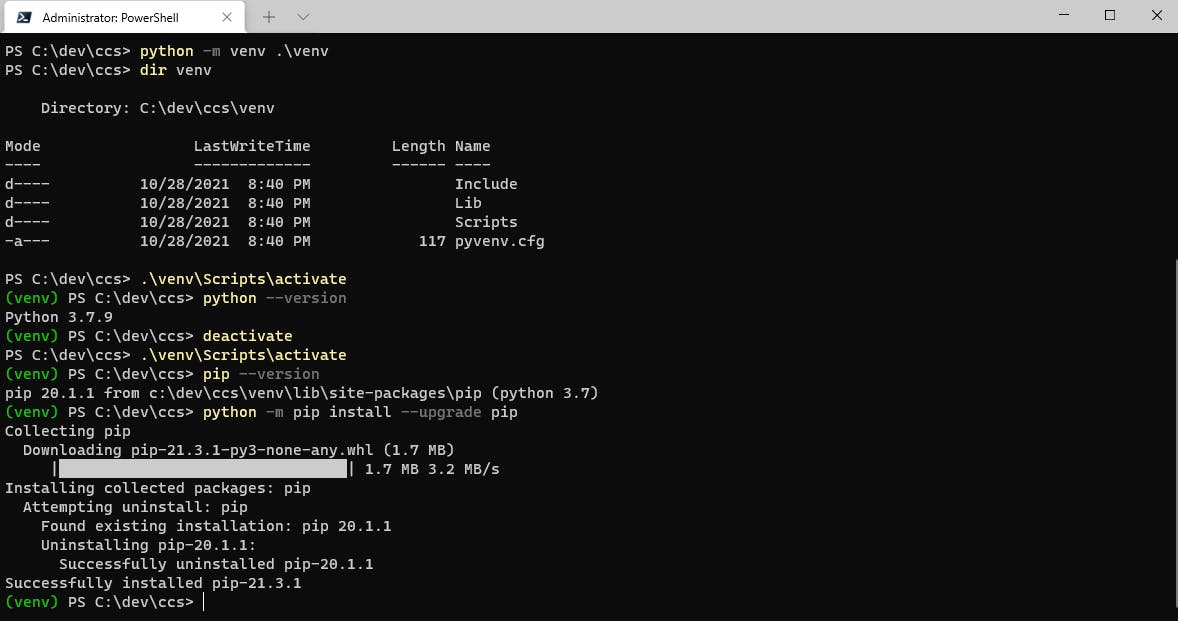
The pip update is run by "python -m pip install --upgrade pip", as you can see.
At this point, we will put MySQL on the machine, so we can work with it, and so the Python MySQL packages can actually talk to the DB. You can download MySQL community edition for Windows here. It should look something like this during the install:

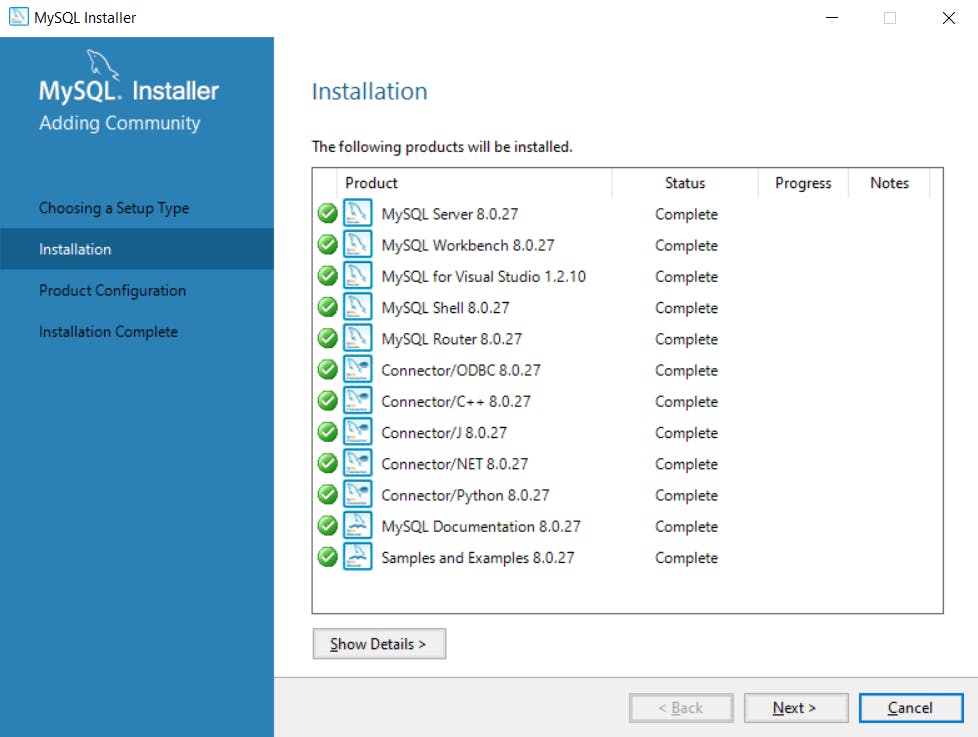
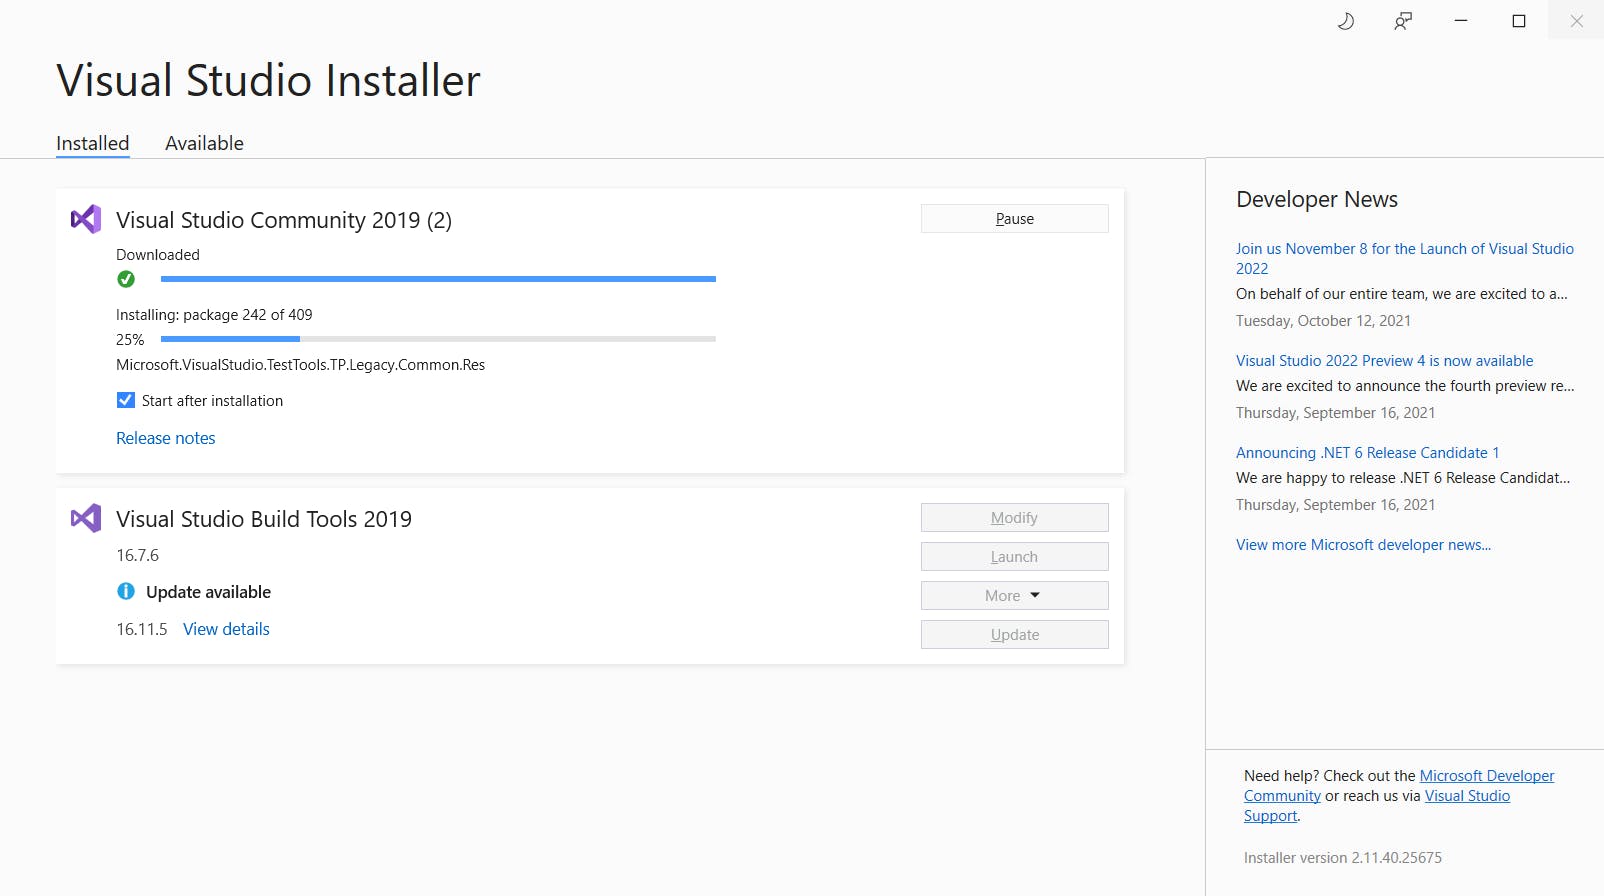
Now we're going to backtrack here a bit. On Windows, if you didn't already have Microsoft Visual Studio community edition on your machine, you will likely have to install it. Remember, jumping through the equivalent steps on Mac OS or Linux you already have a C++ compiler baked in. To get one on Windows you will have to have Visual Studio community edition. You can download it here, and installing it looks like this:
At this point, MySQL and everything else should install fine.
And now, we're going to install our first Python packages to enable talking to the DB. That will be in the next part, we'll take a break here.